Table of Contents
Introduction:
In today’s web development landscape, React has emerged as one of the most popular JavaScript libraries for building user interfaces. This guide will walk you through the process of Creating a React App from scratch. Whether you’re a beginner or looking to refresh your skills, this tutorial will provide you with the knowledge you need to get started with React.
1. What is React?
React is an open-source JavaScript library developed by Facebook for building user interfaces, particularly for single-page applications. It allows developers to create large web applications that can change data without reloading the page. Its component-based architecture makes it efficient and easy to manage.
2. Prerequisites for Creating a React App
Before diving into creating a React App, make sure you have the following installed on your machine:
- Node.js: React requires Node.js for managing packages and running the development server.
- npm (Node Package Manager): npm is included with Node.js and is used to install libraries and packages.
3. Setting Up Your Development Environment
To create a React app, you’ll need a code editor. Popular choices include:
- Visual Studio Code
- Atom
- Sublime Text
4. Creating Your First React App
To create your first React app, you can use Create React App, a command-line tool that sets up a new React project with sensible defaults. Follow these steps:
- Open your terminal (Command Prompt, PowerShell, or Terminal).
- Run the following command:
npx create-react-app my-first-appReplace my-first-app with your desired app name.
3. Change directory into your new app:
cd my-first-app4. Start the development server:
npm start 5. Open your browser and navigate to http://localhost:3000 to see your app in action!
5. Understanding the Folder Structure
When you create a React app, you’ll notice a specific folder structure:
- node_modules/: Contains all your project dependencies.
- public/: Holds static files, such as
index.html. - src/: Where your React components and application logic reside.
- package.json: Lists your project dependencies and scripts.
6. Adding Components
React applications are built using components. To create a new component:
- Inside the
srcfolder, create a new file namedMyComponent.js - Write your component code
import React from 'react';

const MyComponent = () => {
    return <h1>Hello, World!</h1>;
};

export default MyComponent;
7. Managing State and Props
State and props are essential for managing data in React components. Use useState hook to manage state:
import React, { useState } from 'react';

const Counter = () => {
    const [count, setCount] = useState(0);

    return (
        <div>
            <p>You clicked {count} times</p>
            <button onClick={() => setCount(count + 1)}>Click me</button>
        </div>
    );
};
8. Styling Your React App
You can style your React app using CSS. Create a styles.css file in the src folder and import it into your App.js:
/* styles.css */
h1 {
    color: blue;
}
import './styles.css';Sample Application
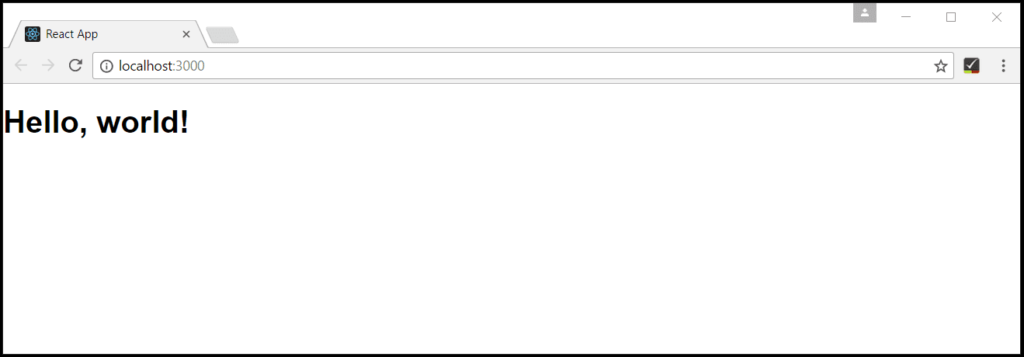
Let’s update the sample application to “Hello World!”. Create a component inside index.js called HelloWorld that contains a H1 header with “Hello, world!” and replace the <App /> tag in root.render with <HelloWorld />
import React from 'react';
import ReactDOM from 'react-dom/client';
import './index.css';
import App from './App';
import reportWebVitals from './reportWebVitals';

function HelloWorld() {
  return <h1 className="greeting">Hello, world!</h1>;
}

const root = ReactDOM.createRoot(document.getElementById('root'));
root.render(
  <React.StrictMode>
    <HelloWorld />
  </React.StrictMode>
);

// If you want to start measuring performance in your app, pass a function
// to log results (for example: reportWebVitals(console.log))
// or send to an analytics endpoint. Learn more: https://bit.ly/CRA-vitals
reportWebVitals();
Once you save the index.js file, the running instance of the server will update the web page and you’ll see “Hello World!” when you refresh your browser.

For more reference please check this link

Leave a Reply